Modern Cavemanhttp://moderncaveman.org/projects/huarache-barefoot-sandals/how-to-make-huaraches.html |
Modern Cavemanhttp://moderncaveman.org/projects/huarache-barefoot-sandals/how-to-make-huaraches.html |
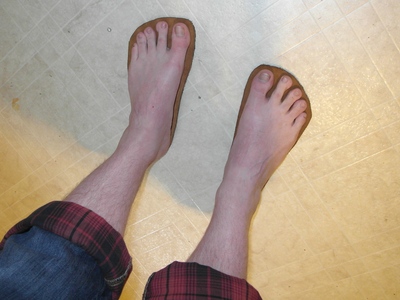
Huaraches are a type of Mexican sandal. I became interested in them after wearing Vibram Five Fingers and reading Born to Run.
Most projects for making the sandals are very easy...trace your foot on a piece of rubber and cut it out. Weave some lace onto it and you're done.
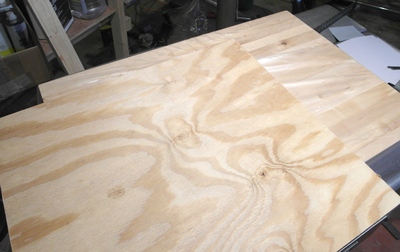
I wanted to make a more comfortable and presentable sandal, so I'm going to glue leather on top.
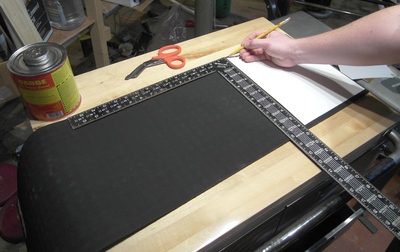
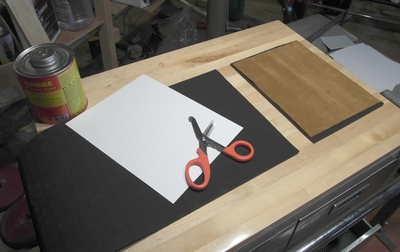
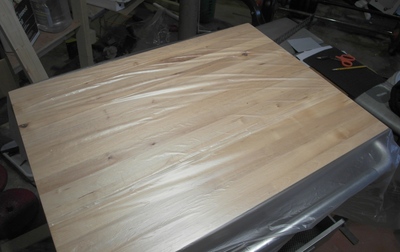
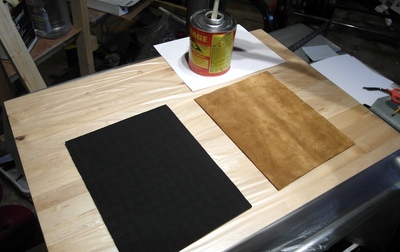
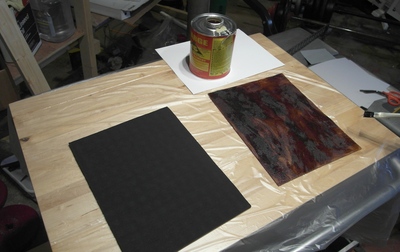
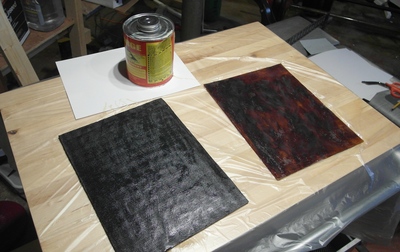
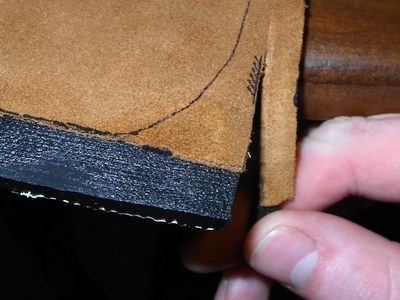
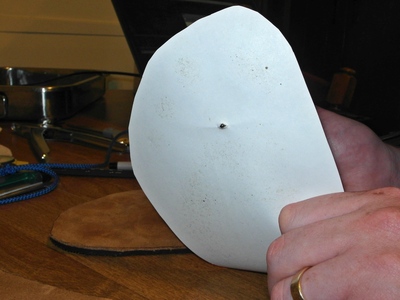
The suede leather piece is 8.5"x11" from a crafting store. I used a piece of cardstock of the same size to trace the width onto the vibram.
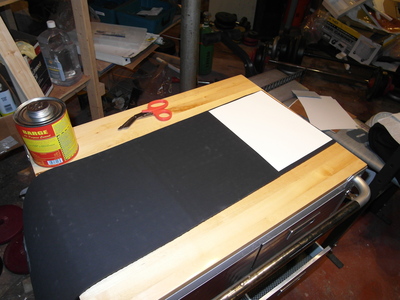


Cut with shears.
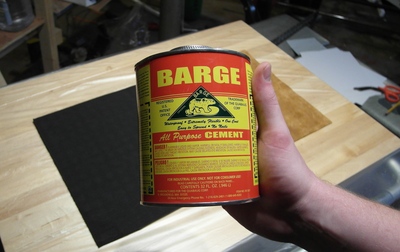
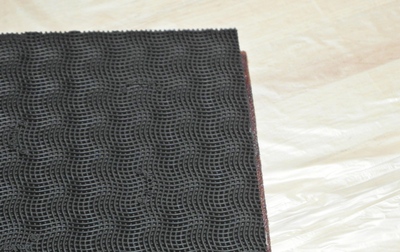
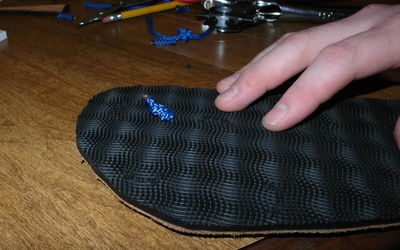
Normally when using contact cement, you want to scrape or distress the surfaces being bonded so that the contact cement has more texture to grip. The top of the vibram material comes textured/distressed and the leather is porous and will absorb cement so this step can be skipped
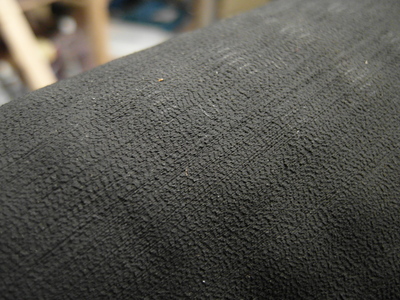
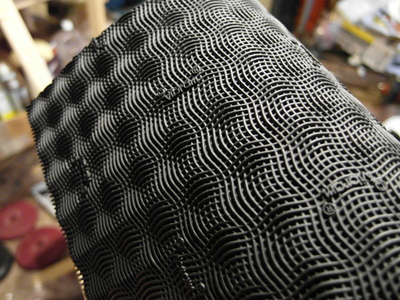
Cover your working surface with a protective sheet, and clean the vibram material with alcohol or acetone so that it will be clean and oil free.

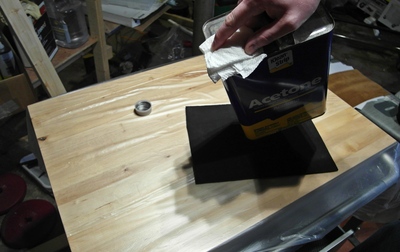
Apply the contact cement where there is good air circulation. The pictures look like this is an enclosed space, but there was a door open behind leading outside. Even with this the fumes were still quite strong, so having a fan would be advisable.
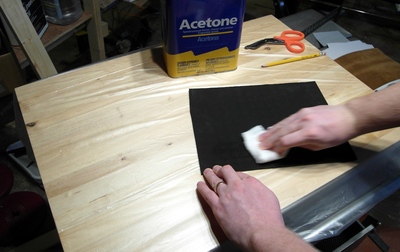
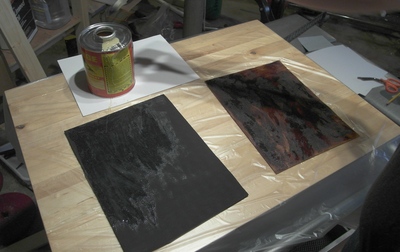
The contact cement instructions suggest applying a base coat to any porous material and then a second coat before bonding to the other surface. Since the leather is porous and will absorb some, I did this.
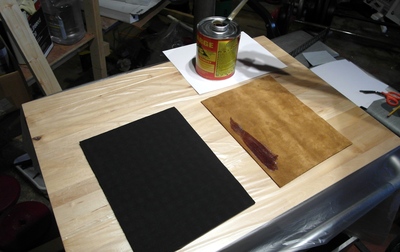
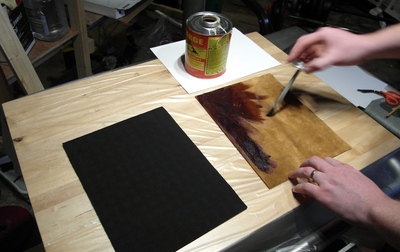
Make sure to apply strongly to the edges of the leather. Then apply a single coat to the vibram.
When I applied the contact cement, I noticed that the vibram started curving down (away from cemented side). I believe this is because the cement contains a solvent, which somewhat loosened the rubber material and made it expand slightly. This curve went away overnight when the material was fully dry and bonded.
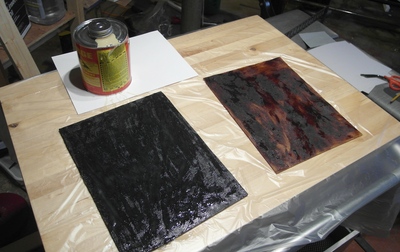
After allowing to dry to the recommended tack, apply a second coat to the leather and let dry again.
Carefully place leather on vibram. I recommend practicing doing this before you add any contact cement so you'll know how to lay the leather down without any bubbles and without going off edge. Possibly holding cardstock behind the leather and moving it to the vibram would work. I also should have cut a bigger piece of vibram and thrown out the excess.
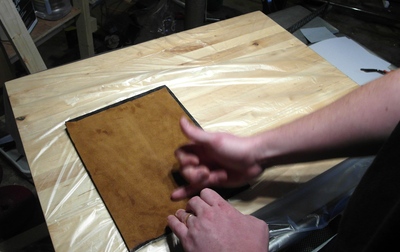
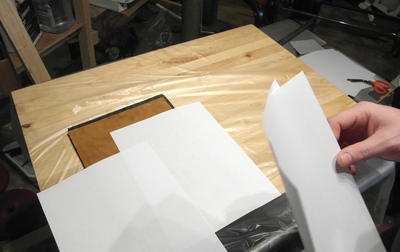
Smooth the leather lightly at first. Then put paper covering it so you can smooth it firmly.
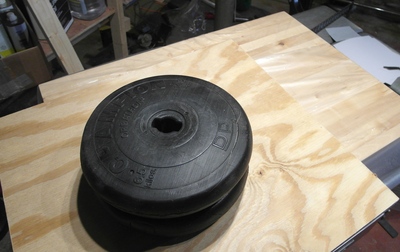
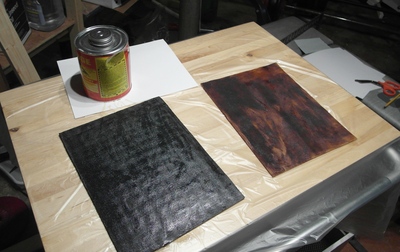
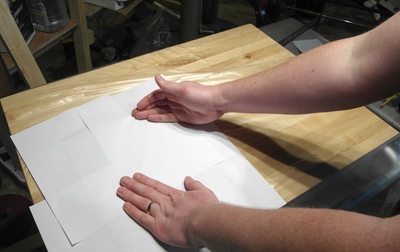
Leave the paper in place, and cover with a flat board on the leather/vibram and use a weight to press. Allow to bond overnight for best strength.
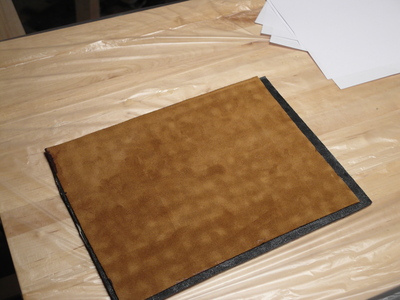
You can see I was slightly off center with leather and some leather overlaps the vibram.
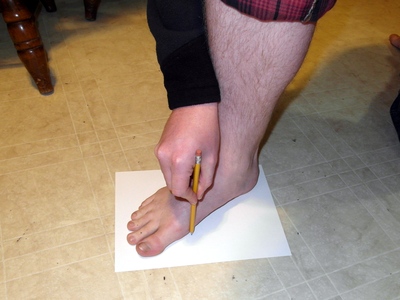
Using a pencil and cardstock, make tracings of your feet. You should press your foot with some pressure into the paper so that your foot flattens a bit, making a slightly larger print.

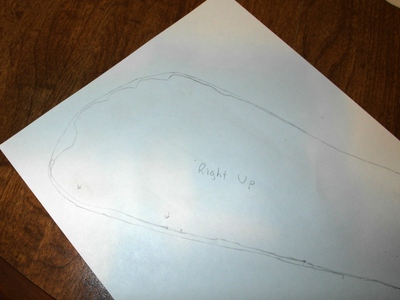
Label each foot "Right Up" and "Left Up" so you won't get them confused when you place them on the leather+vibram to trace.
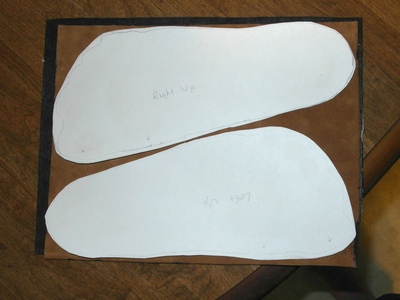
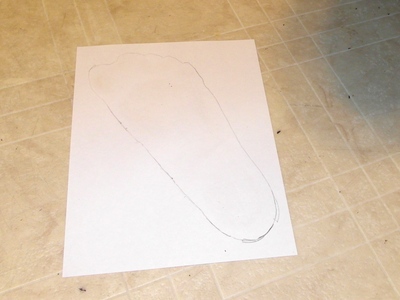
Draw around the outside of your tracing, so that all the bumps of your toes become a smooth arc. You want to trace it a bit bigger. If you make a mistake you can always trim it smaller later. Save the cuttouts, we're going to use them again.
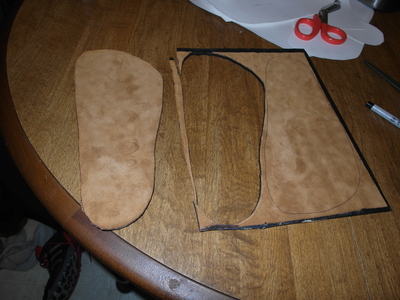
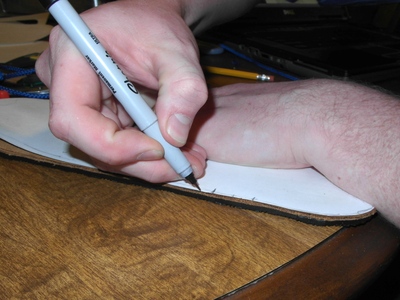
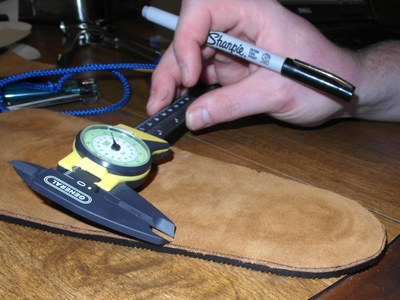
Trace the foot shapes onto the leather (use a sharpie). Make sure the foot tracings are facing upright.
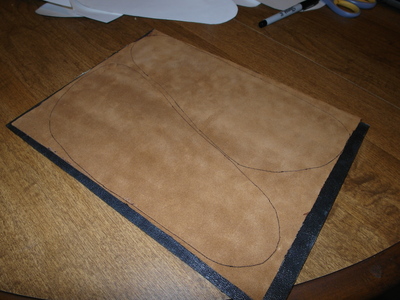
Do a practice cut on scrap/outside material.
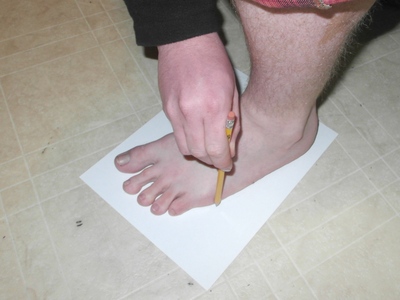
We want to find the places where we will punch holes for laces. We're going to mark three places on each cutout. I read instructions from this website for this method.
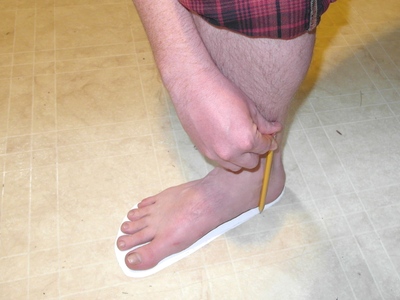
On the inside of the foot, find the bone sticking out and make a mark directly down at the edge of the cuttout.
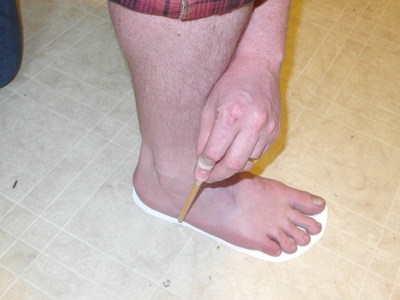
On the outside of the foot, while standing, find the place where your foot makes less contact with the ground. Mark on the outside of the cuttout.
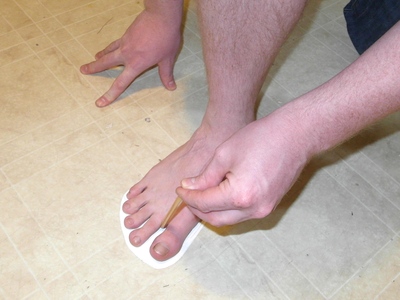
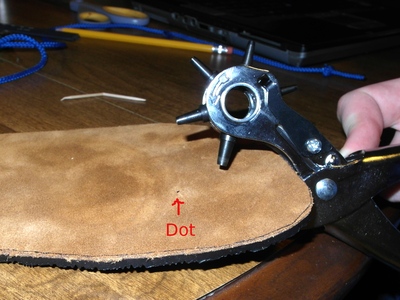
Put a dot between your big toe and second toe, with the dot angled in slightly to the second toe.
Do this for the other foot.
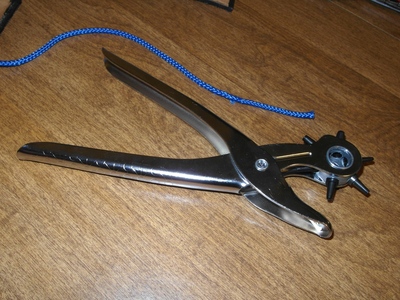
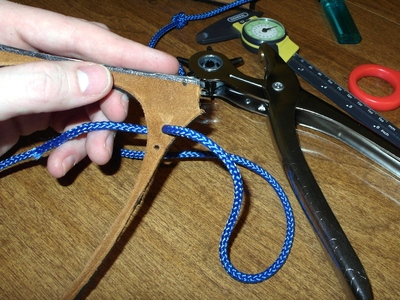
A leather punch is the right tool to create the lace holes. Punches cost $7-15 dollars and are worthwhile for many crafting projects.
DO NOT use a knife or nail to poke a hole. The hole must have clean edges that will not tear. By using a knife or nail the vibram is torn when it seperates, and will only tear more when pressure from laces and walk/running is applied.
If you do not have a leather punch, you can use a drill-bit. You want to remove material, not tear a hole, so a punch or drill bit are appropriate.
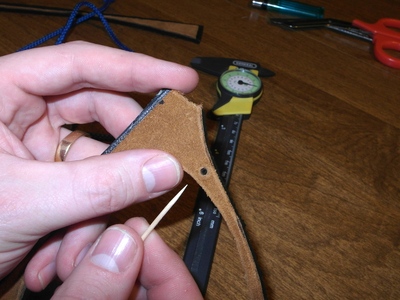
In scrap material test hole and lace size before working on your huaraches. The laces should fit snug and be gripped slightly. They should not slide completely freely. A toothpick can be useful to help push the lace through the hold initially.
Take your cuttouts and make marks onto the leather pieces. Poke a hole with a pen/pencil through the dot between the big toe and second toe.
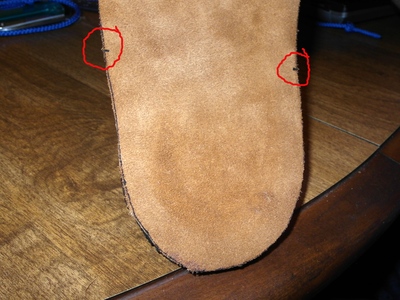
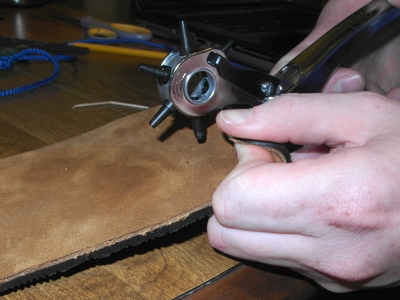
From each indicator line on the edge of the leather, make a mark 1/4" inside. This is going to be where you put the edge of the hole punch or edge of drill bit. In other words, you want to have 1/4" of material left after you make the hole.
The toe-hole is probably a bit too far in from the edge for the leather-punch to reach. You may have to fold over the vibram material to reach it.
Each lace should be about 6 feet long (2 meters).
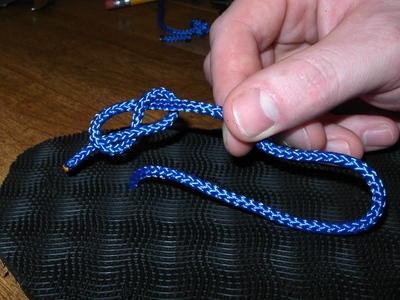

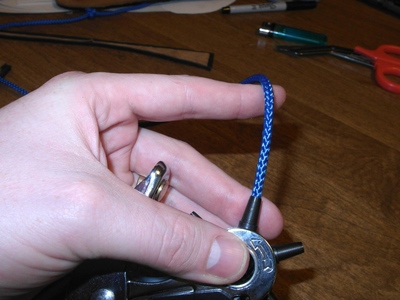
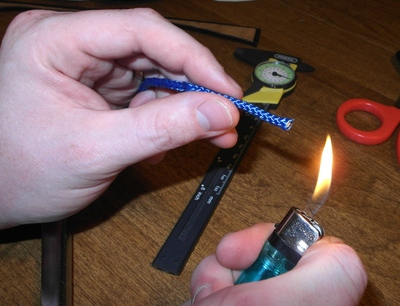
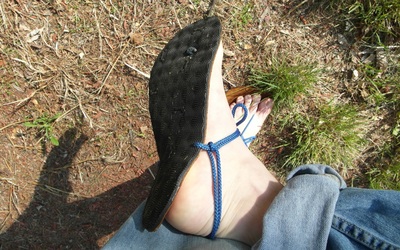
Always go from top to bottom when threading the laces to help go in the right order. Tie a figure-of-eight knot on the underside of the sole and draw it tight. If there is extra lace material after the knot, cut it short and burn with a lighter to prevent fraying.
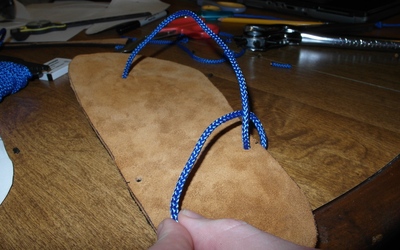
Top to bottom thread the outside hole, which is the right-side for the right foot, and left-side for the left foot.
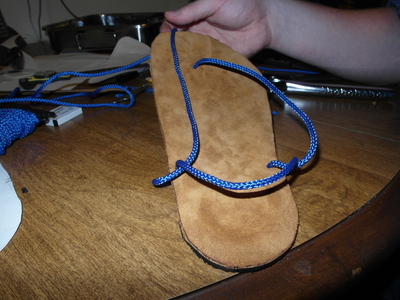
Bring the lace around fron and then thread the final hole from top to bottom.
There are instructions on this youtube video.
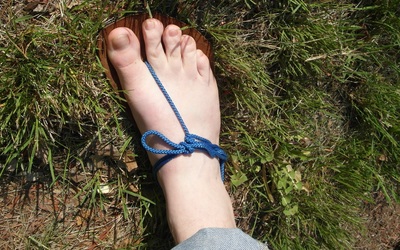
Brand new!