Modern CavemanAll caveman projects - Text File Version of this page - Printable |
Modern CavemanAll caveman projects - Text File Version of this page - Printable |
The two easiest home roasting techniques, without having any fancy equipment, are the Constant Stir method and the Airpopper method.
The constant stir method is recommended for the first time, because it is easiest to experience the whole roasting development of the beans. You will be able to better control later batches and achieve exactly the roast you want once you have experienced all the changes the bean goes through while roasting.
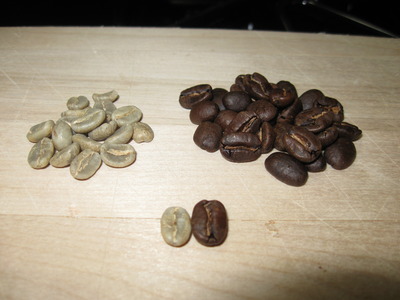
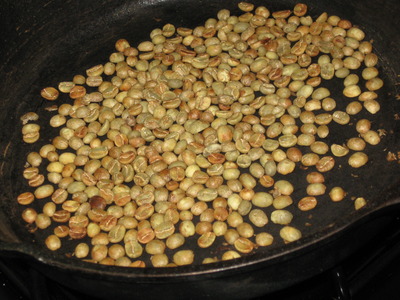
Green coffee beans are smaller than their roasted counterpart.
During the roasting process, moisture is cooked off, and the bean goes through two crack stages as it browns and expands.
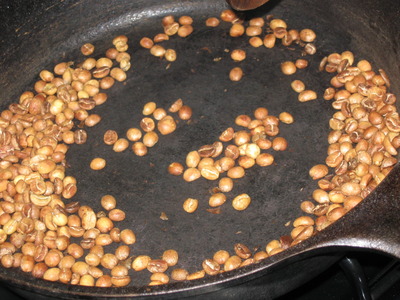
First Crack happens about 2/3 through the roasting process. It is a fairly loud crack sound, similar to a crackling/popping wood fire. The beans will be a mid-brown shade at this point.
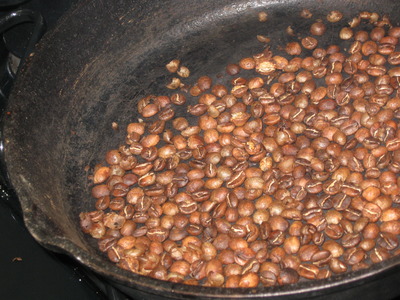
Second Crack happens near the end of the roast. It is a soft rice-crispy like noise that is very frequent. The beans will be fully brown and heading towards a dark coffee color as second crack progresses.
The chaff, a thin skin on the green bean, is separated and shed during the roasting process. If you have ever bought commercial supermarket grade coffee that is pre-ground, the light brown wispy stuff was the chaff.
Chaf should be separated from the roasted beans, as it contributes a dimensionless bitter flavor to the final brew.
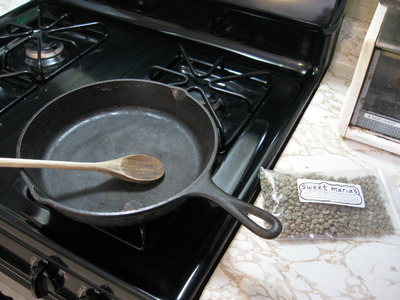
A heavy bottomed skillet (cast iron is ideal) and wooden spoons are used.
The thinner the skillet is, the more direct heat transfer from the stove to the beans, which can lead to an uneven roast. This is not necessarily bad, as you will have a mixture of light/medium/dark roasted beans, that when ground will provide a flavor profile that is more complex than you would normally find.
The danger is in having burned sections of the beans that will contribute undesirable flavors. Degrees of roasting is acceptable, burnt is not. Roasting at a lower temperature or more vigorously stirring/shaking can help avoid this as well.
This process will take about 10 minutes.
Step 1 Add a single layer of beans, not filling the entire skillet surface. The beans will grow larger as they roast.
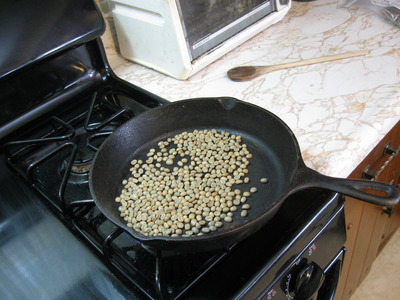
Step 2 On a medium-high heat, constantly stir the beans, occasionally shaking the skillet. The goal is to prevent burning, while getting heat to the beans as evenly as possible.
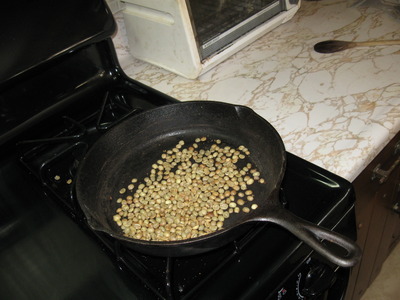
Step 3 Listen for First Crack (loud pop/crack). You won't be able to miss it, but this will be your indicator that Second Crack is coming in another few minutes.
Step 4 Listen for Second Crack (soft rice-crispy sound). The beans can be removed from the heat at anytime, now. See Roast Levels for adjusting your outcome.
Step 5 Dump beans into a collander and toss gently to cool them down. Blow the bits of chaff off of the beans.
The beans are at approximately 450 degrees Fahrenheit, so they will continue to "self roast" if left as is. This is less of an issue for small quantities, but larger roasts can retain their heat for quite some time.
It is recommended that you have tried the constant stir method first, because you are able to better judge roast levels by sight and sound. Since the air popper will be noisy, detecting when Second Crack happens will be tricky if you have never heard it before.
Air poppers can be obtained for only a few dollars used at a thrift store, but even brand new
you won't need to invest much more than $20.
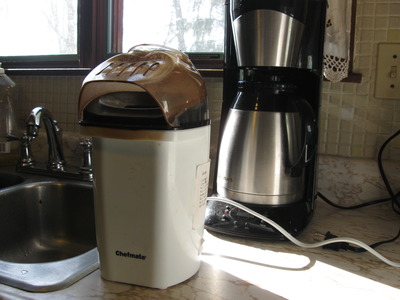
Look for an airpopper that has heat vents around the sides, so that when roasting the beans (or popcorn) will be rotated in a circle. This will achieve a really even roast, as the beans are constantly stirred.
The less desireable type is with the heat vent directly at the bottom, aiming straight up. This won't mix the beans as well, and can even blow them out like popcorn as the beans get lighter during the roast.
Step 1 Fill the air popper a couple of inches to around the top of the heat vents. It can be filled a bit more, but make sure that when turned on that all the beans rotate. If they are stationary because of too many beans, they will burn and potentially catch fire.

Step 2 Aim the popper at the sink, as the chaff will be blown out.
Step 3 Turn on. Verify that the beans are mixing.
Step 4 Wait for Second Crack to happen.
Step 5 Remove from heat, cool in a collander.
There will tend to be an optimal amount of beans for each popper. Using fewer beans will actually take longer to roast, because they are not benefiting from the retained heat of all the other beans.
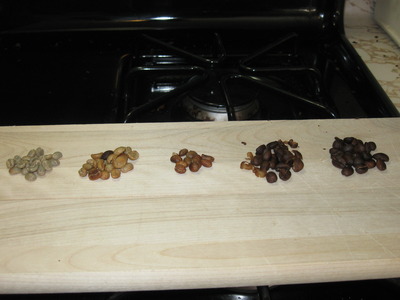
This picture illustrates the change from green to about a Full City+ roast.
I have this chart taped to my air popper:
| Roast Level | Listen for |
|---|---|
| City Roast | 1st crack finishes |
| City+ Roast | between 1st crack and 2nd crack |
| Full City Roast | on verge of 2nd crack |
| Full City+ Roast | first audible snaps of 2nd crack |
| Vienna/Light French | 2nd crack underway |
| Full French | 2nd crack very rapid, near end |
| Fully carbonized | 2nd crack over, coffee is 25% ash/charcoal |
| 3rd crack | fire immanent. get marshmellows (note: there isn't really a 3rd crack) |